Tuesday, January 24, 2012

The Brain,Pt. 2

In order for the board to sit flush with the potentiometers properly seated against the wood, I routed a shallow groove into the inside surface of the face.  Once I finished drilling out the holes on the back piece for connectors, I was ready to glue them together.

\


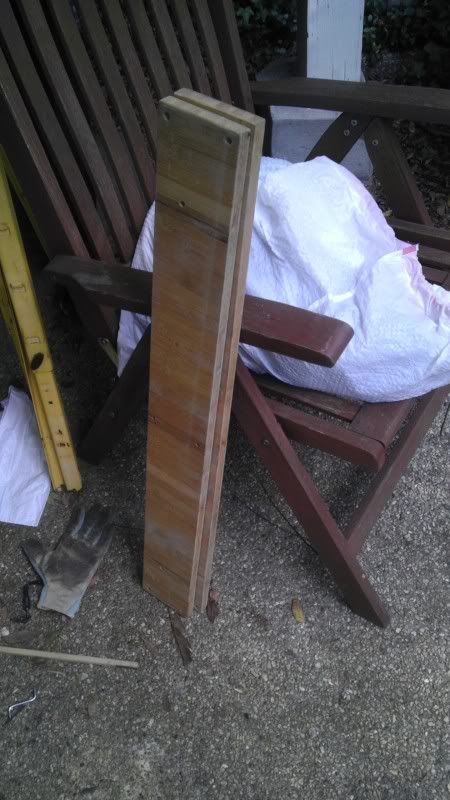
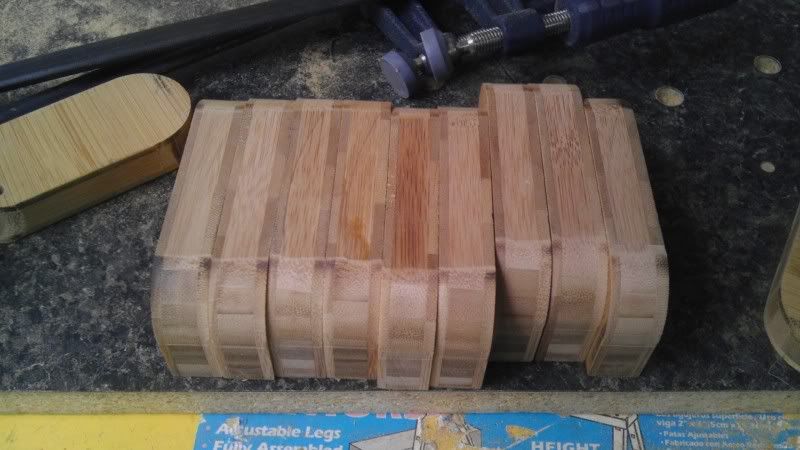
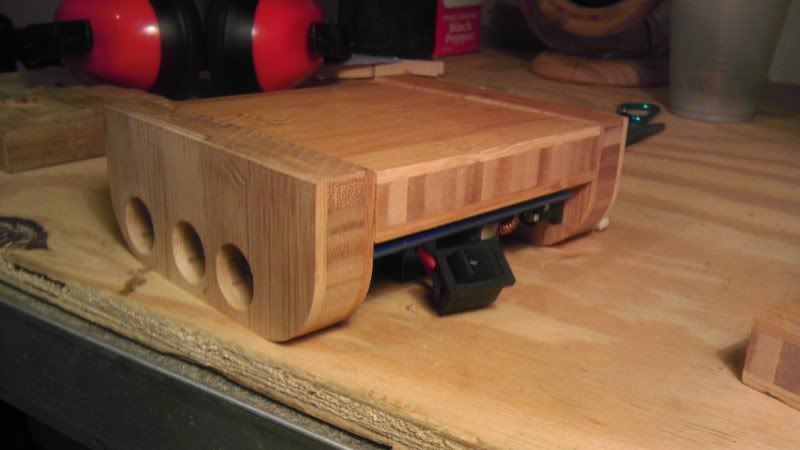
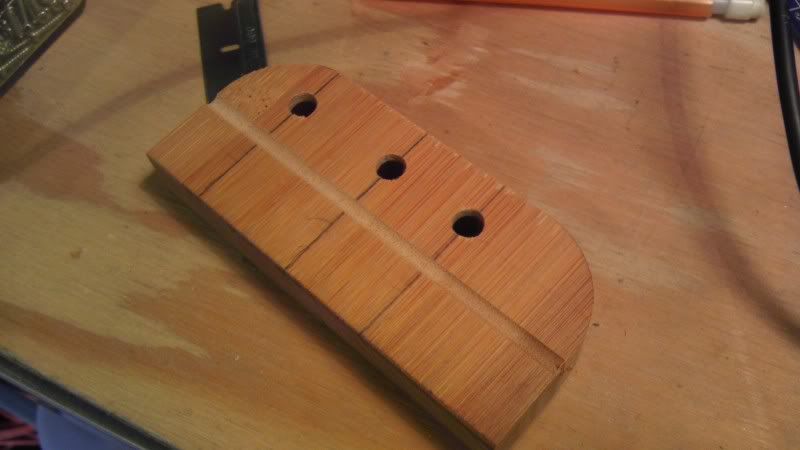
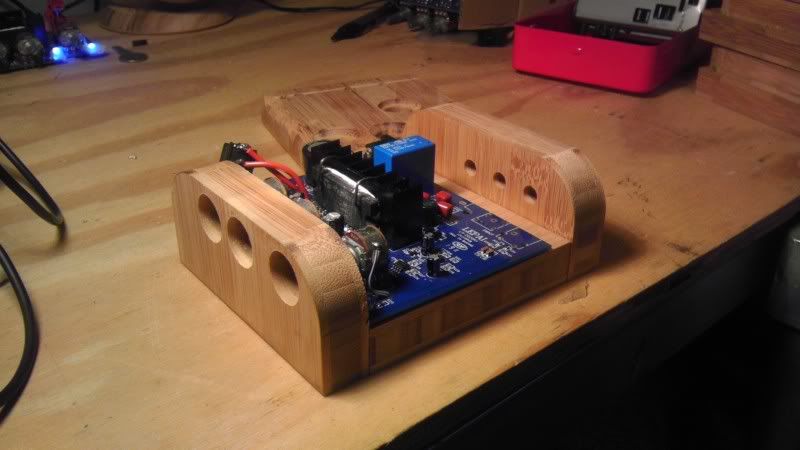
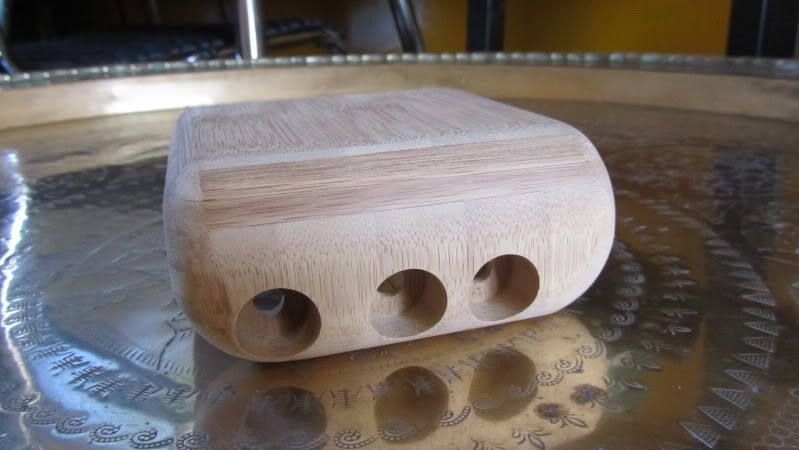
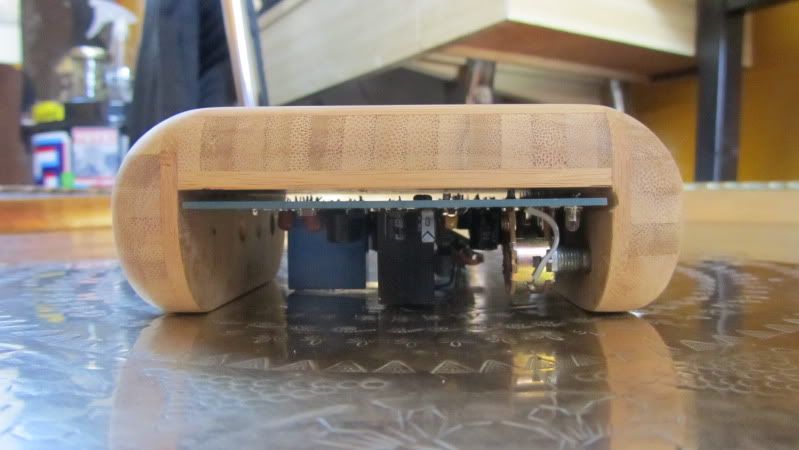
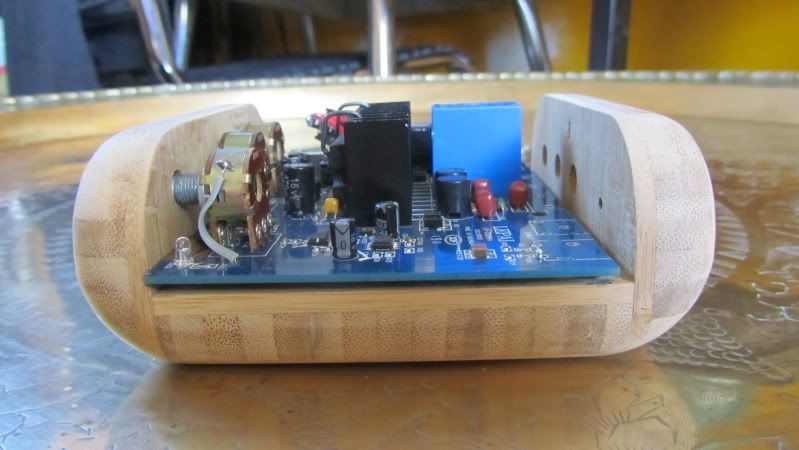
After gluing the front panels on first, I noticed that I still had about 3/8" of extra room at the back of the board.  I want to keep these units as small as possible, so I made a jig and cut them all down to size on the miter saw.


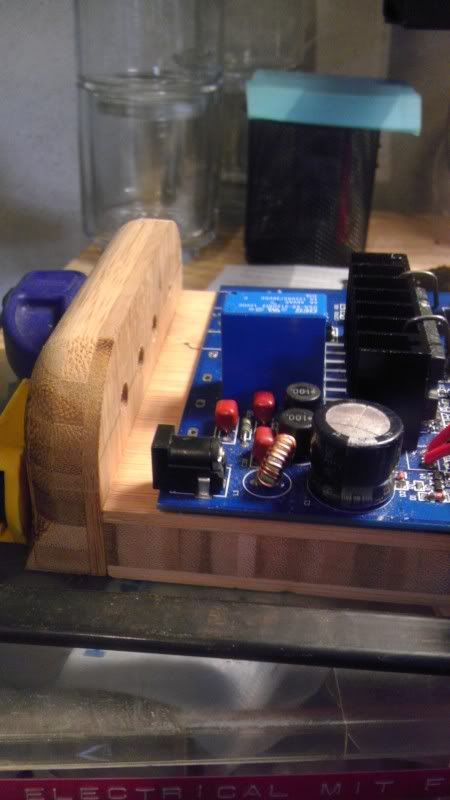
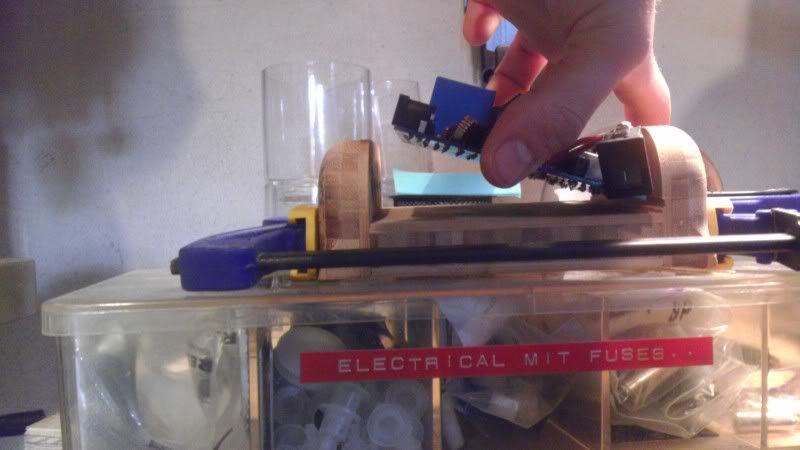
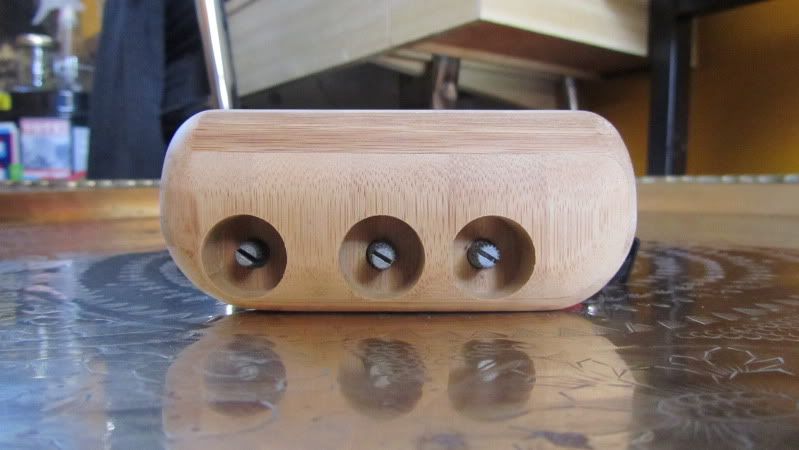
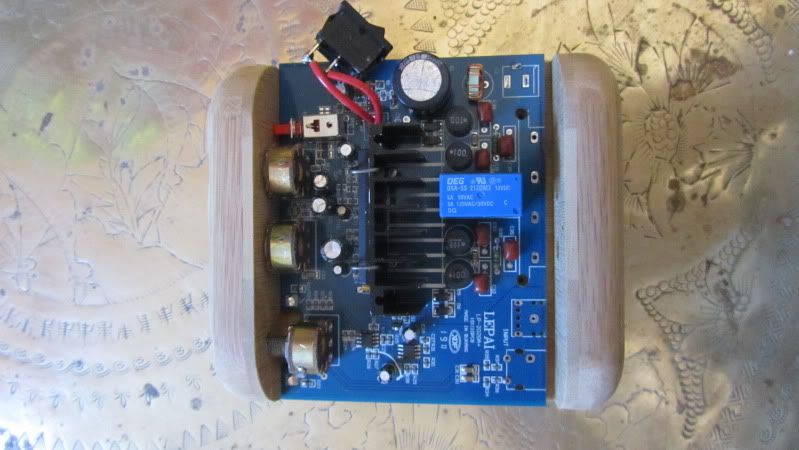
Once I cut them down, I still had enough room to swing in the board and have it rest snugly against both panels.  A friend of mine said he was surprised that it could even be removed; it appeared that it had been glued together like that.


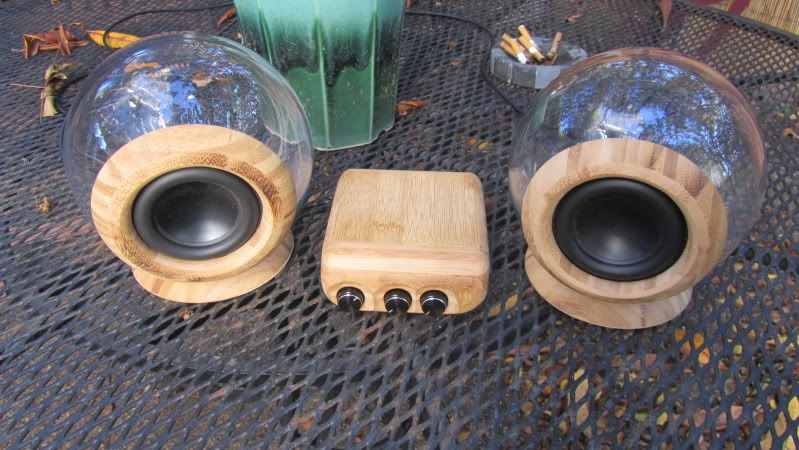
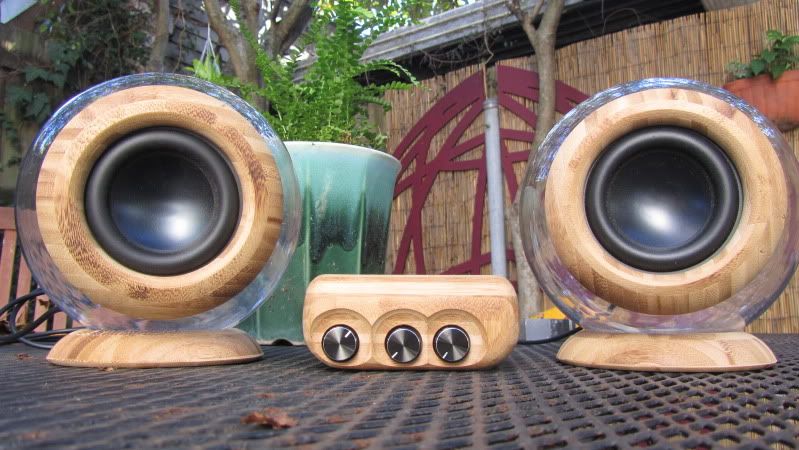
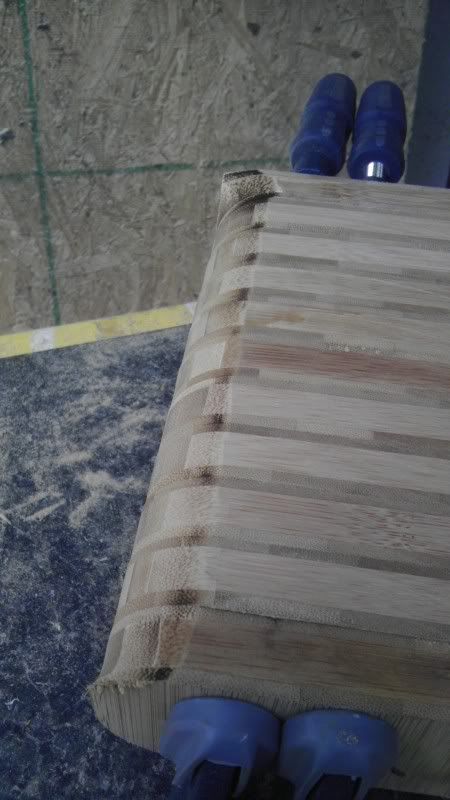
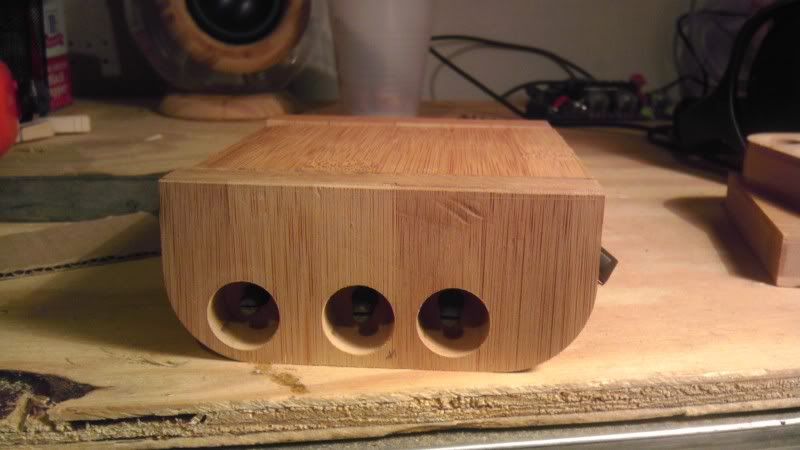
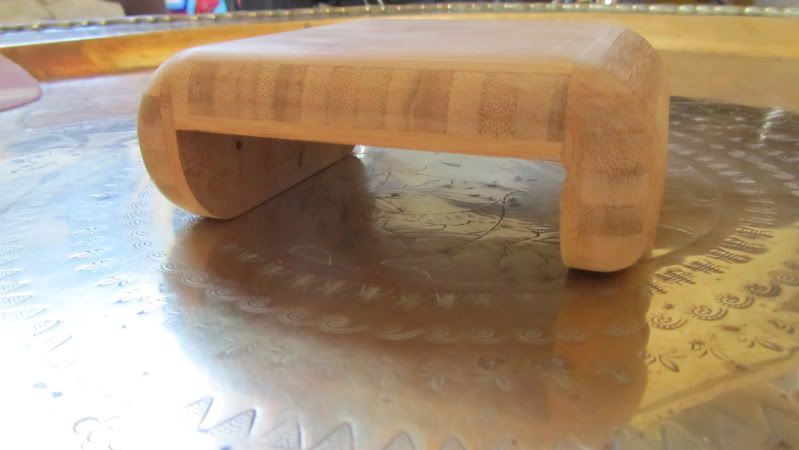
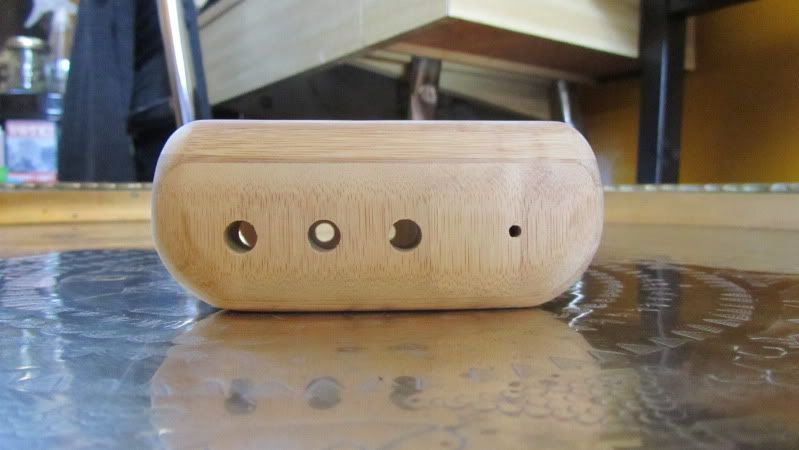
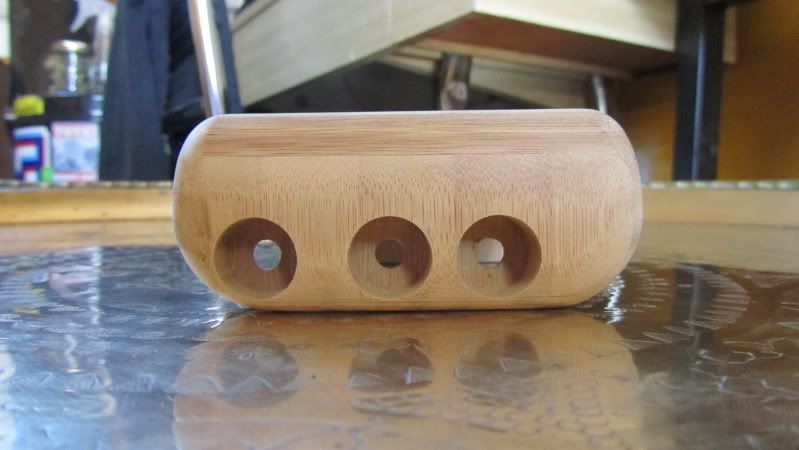
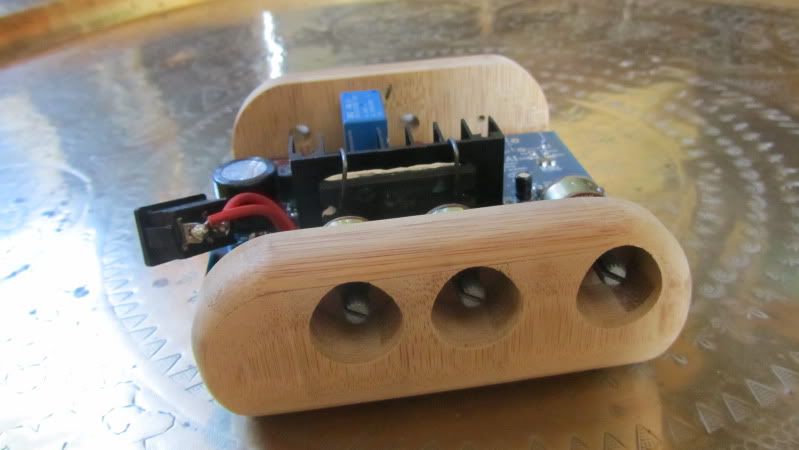
I also ran the front panels that had been glued up on a roundover bit to give them the first part of their shaping.  Eventually, all of the sharp edges will be rounded over, giving the wood a smooth, warm feeling that begs to be touched.


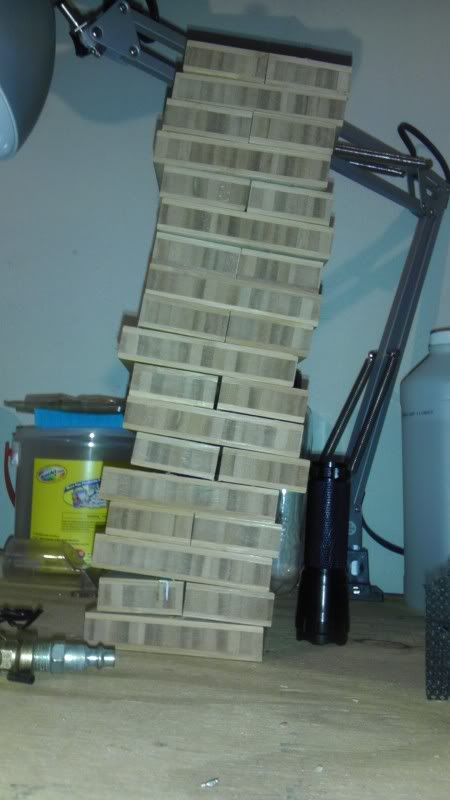
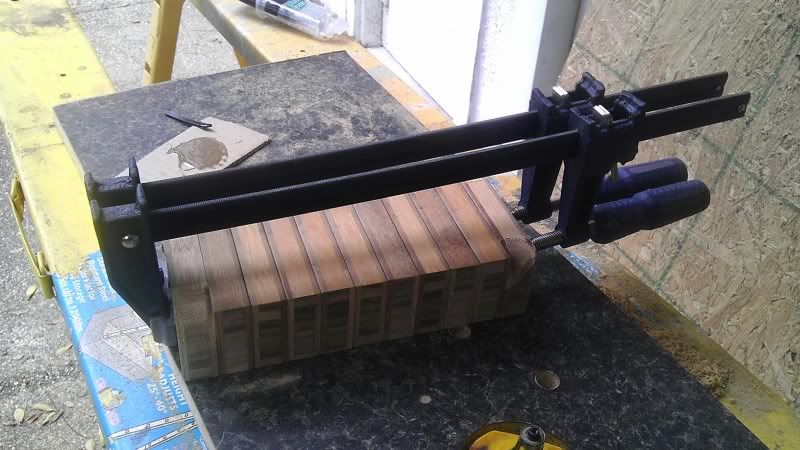
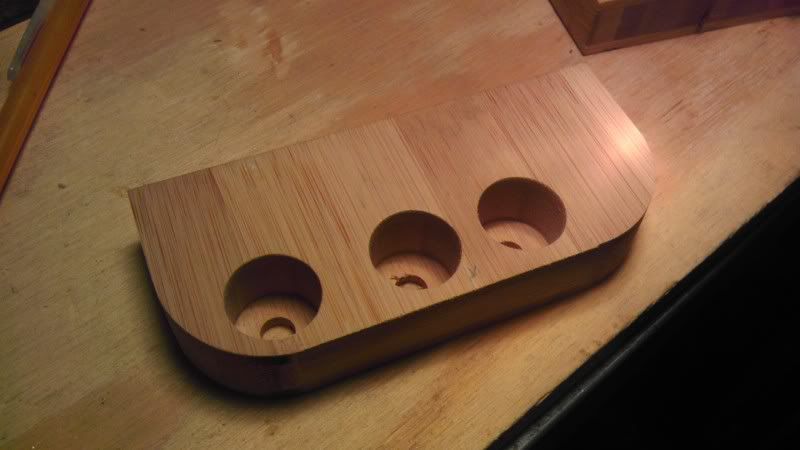
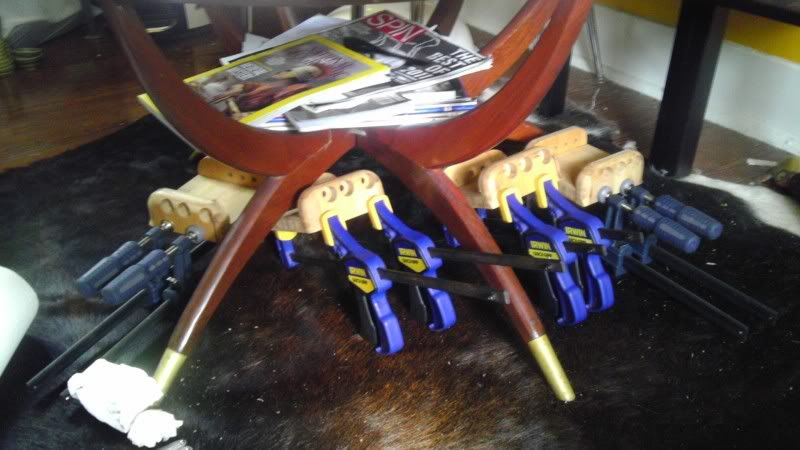
Gluing up the first batch


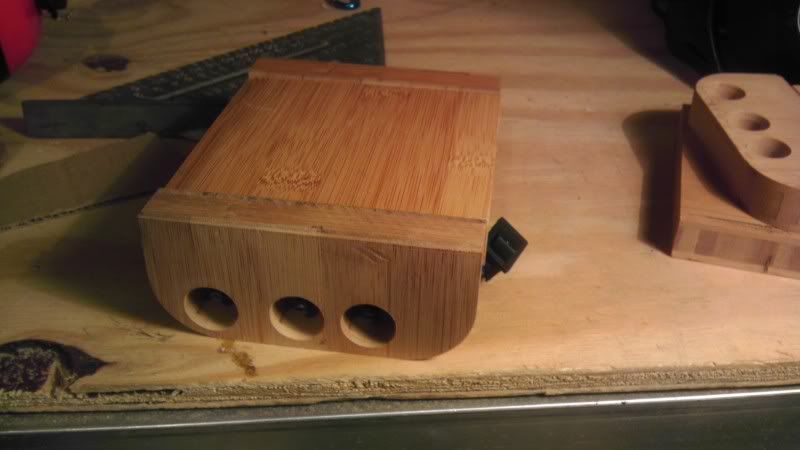
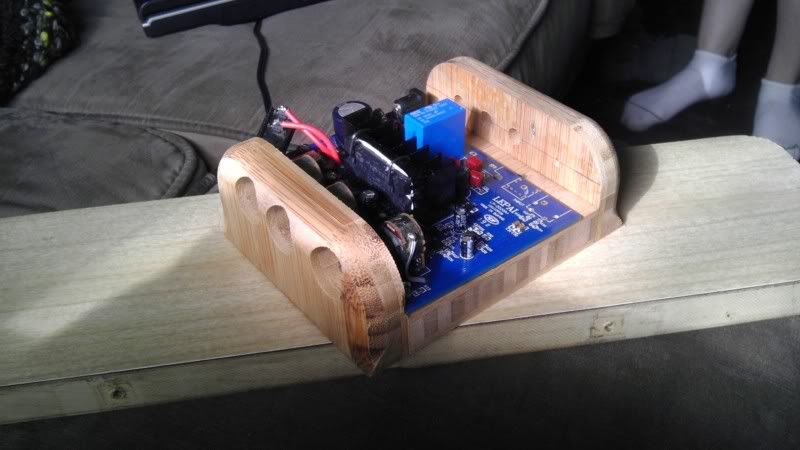
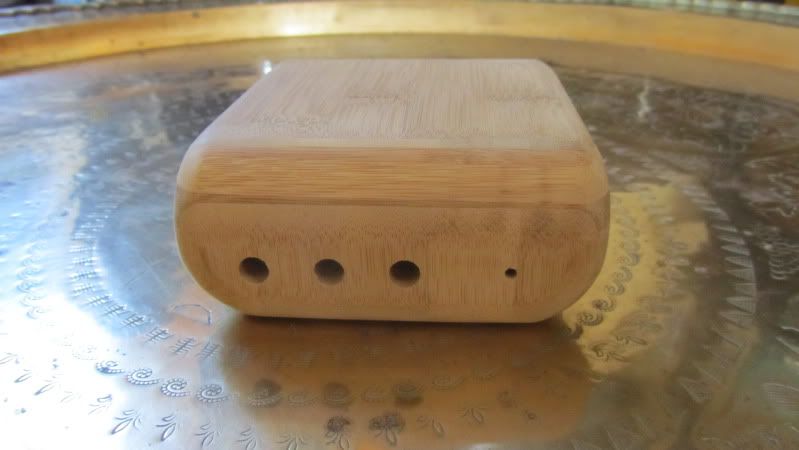
Once all the pieces were glued up and had time to fully cure, I started on the rest of the roundovers.   The front and back faces have the larger 1" radius roundover where they meet the top panel, while the edges of the front, back, and sides used a 1/2" radius bit.  After a little careful sanding, they have just the look that I was going for.


As usual, you can find the rest of this and my other projects at my Photobucket.

Monday, January 23, 2012

The Brain Pt. 1

I am getting pretty close on the amps that I am building for this project, so I figured I would share the progress I have made sofar.  I am using modified Lepai amps for the board and making my own enclosure for them out of more bamboo ply.


I started with some ~4 wide pieces that made up the bottom of a sign.  I sectioned into pieces that were about as wide as the amp boards.  I wound up with 6 per board, as there was holes to work around.


I cut half of the blocks in half lengthwise to make up the front and back panels of the amp housing.  I clamped them into a single block and router the corners to have a rounded profile.


I drilled out holes for the potentiometers and used a forstner bit to cut recesses for the knobs.


For more pictures of all of my projects, you can visit my Photobucket.

Wednesday, December 21, 2011

Spheres, Pt. 2

Once I was happy with the dimensions, I cut out the first set in bamboo and set up to round over the edges with an mdf guide in between.


And routed out the recess in the back


Inevitable


Rounded over


Sunday, December 4, 2011

Spheres, Pt. 1

This project began after having already done a couple of glass-based speakers using a wood baffle ring epoxied to a flat cut edge.  I had a small but thick fishbowl vase holding change on my hall table, and one day I noticed that the opening was perfectly sized for one of my favorite drivers, the Aura NS3.


Photobucket

The driver cleared the edges (the first test), but the amount of space I had to work to make the baffle with was minimal at best.  I knew this would be a sort of experimentation project,  I started out with an MDF ring about the size that I wanted.  I wanted the recess on the inside of the trim ring to sort of "hug" the glass, so I made it slightly larger than the flat surface of the vase.

Photobucket

Cut the recess and chamfered the edge.

Photobucket


It sits about 1/8" into the trim piece with the chamfer.

Photobucket


Lots of clearance for the driver, although this interior space will change with the varying sizes of the vases.  The test piece here was the larger, measuring 3 3/8."

Photobucket


I made an MDF test piece for the mounting ring to fit into the recess.

Photobucket


Cut down the mounting ring to about 3/16" and routed the cutout for a very snug fit.

Photobucket


Without the driver.

Photobucket


And an exterior shot.

Photobucket


I cut a 1" roundover into the test piece, which ultimately did not hold up because of the way MDF is layered.  I was happy with the dimensions though, and once I was able to buy some new vases (they were hidden in backstock for a few weeks before I found them), I started on the final bamboo pieces.